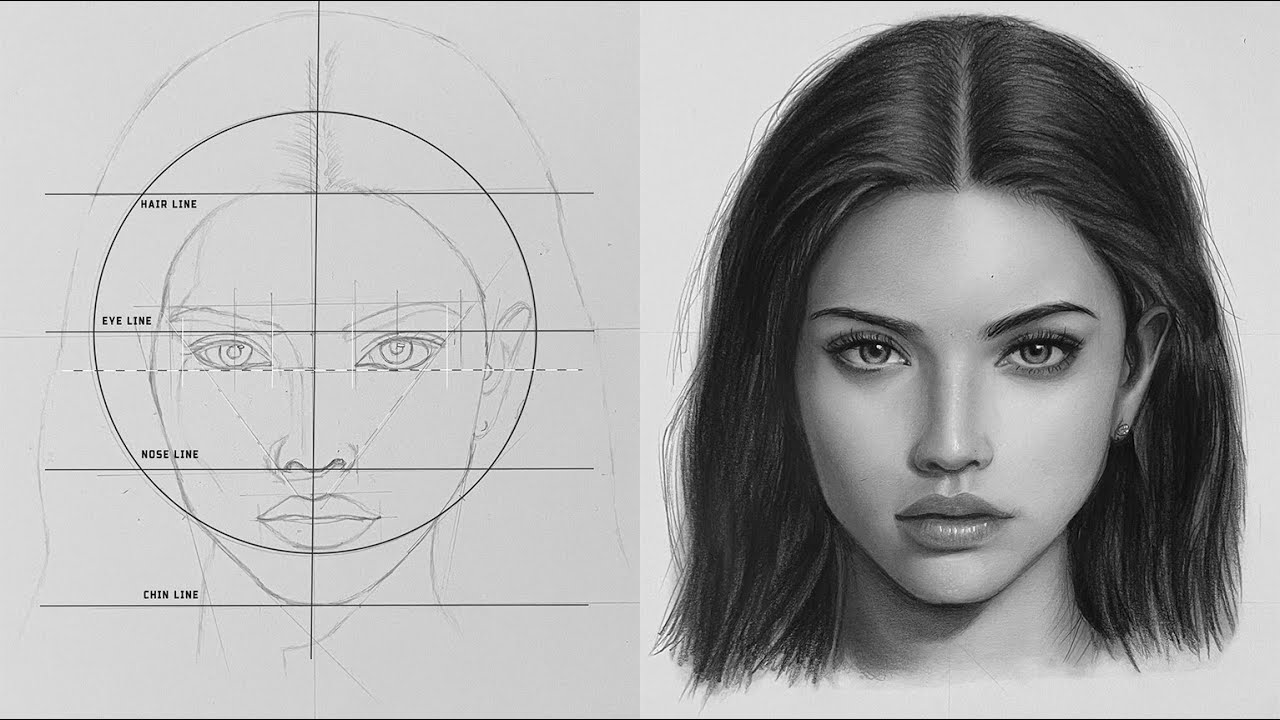
Taking the plunge into portrait art might seem like staring at a blank canvas that’s mocking you. If you’re keen on capturing faces but feel intimidated by all the fine lines, don’t worry; every great artist started somewhere. From tackling proportions to knowing how light can change a face, let’s break down what you need to get from “I can’t even draw a stick figure” to “Look at my masterpiece!”
Key Points:
- Understand facial proportions and placements.
- Master shading and value for realistic depth.
- Learn to capture expressions and emotions.
- Practice different mediums and materials.
- Build patience for gradual improvement.
1. Start with the Basics – Proportions and Placement
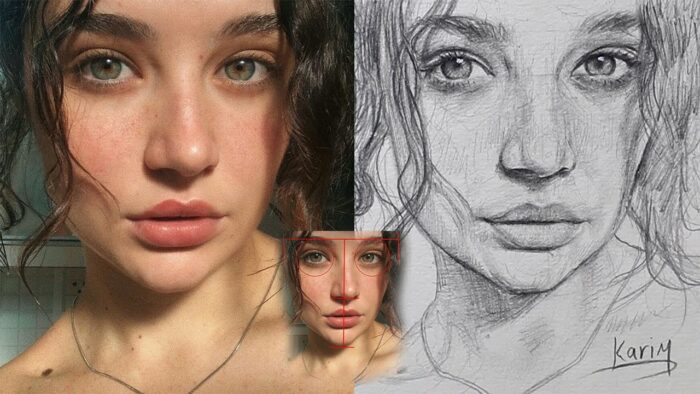
When you’re starting out, proportions make or break your piece. Think of it as the architecture of the face. Everything sits where it does for a reason. Eyebrows, nose, eyes, lips – all these features need to work together, like instruments in an orchestra. The eyes typically land about halfway down the head, the bottom of the nose is usually about halfway between the eyes and the chin, and so on. Studying basic proportion guides will save you a lot of frustration.
Want to skip ahead and have a professional do the heavy lifting? Then Families Portrait is the right place for you. Having your own portrait drawn, whether it’s for a family member or a beloved pet, is an experience that captures uniqueness like nothing else. It’s like a shortcut to the art you want to see, while you learn on the side.
2. Shading and Values – Giving Your Portraits Depth
Ever noticed how shadows on a face can change everything? Shading isn’t just about “adding shadows.” It’s about giving depth, form, and mood to your work. When done right, shading gives the illusion of real three-dimensional features. Think about where the light is coming from – light hits one side of the face, while the other side stays in shadow. That subtle shift can make or break how realistic your piece looks.
Start with simple light-dark shading to understand values. You don’t have to make it fancy; just imagine a bright lamp on one side of your head. Practice this until it feels as natural as breathing.
3. Eyes – Windows to the Soul
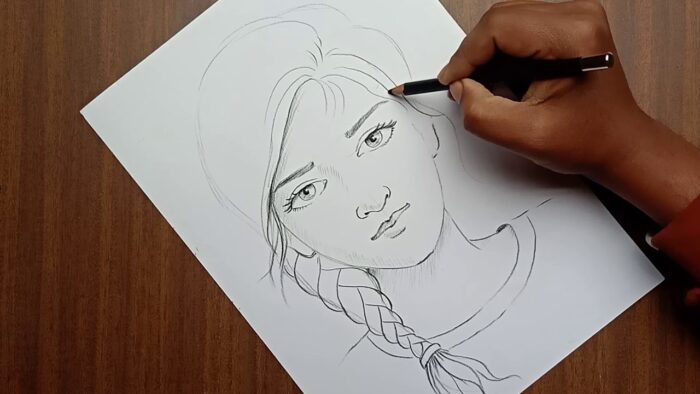
Eyes are often the part where new artists get stuck. They’re tiny, detailed, and full of emotion. Look at a person’s eyes – they reveal a lot! When you draw them, remember that the shape of the eyelids and the positioning of the pupils create the whole “expression.” Eyeballs aren’t flat circles. Each eye has highlights (light reflections) and shadows, which show the curve of the eye.
Some tips:o
- Make sure both eyes look in the same direction. Nothing’s weirder than crossed or wandering eyes.
- Add a little shine near the pupil – a tiny dot can make the eye come alive.
4. Expressions – Not Just a Blank Face
A blank expression is fine for statues, but portraits should capture life. Smiling, frowning, laughing – expressions are made up of subtle changes in the face. A small shift in eyebrow position can turn “confused” into “curious,” while lifting the corners of the mouth can turn “serious” into “mischievous.” Observe people around you. Notice how they look when they’re annoyed or excited. This will help you add personality to your portraits without even needing words.
For an extra challenge, study how muscles move under the skin. Yes, it sounds intense, but understanding the basics of facial anatomy is a game-changer.
5. Experiment with Different Mediums
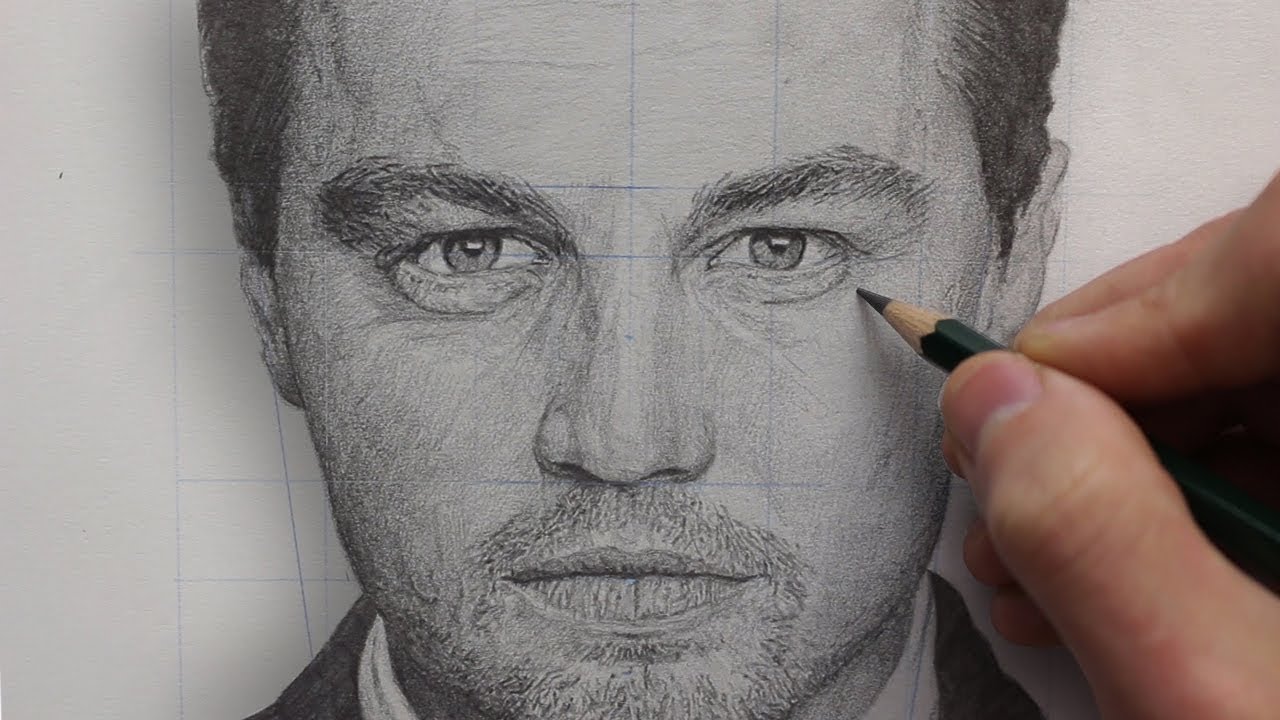
Stuck with pencil? Try charcoal, colored pencils, or even ink! Each medium has its quirks and strengths. Charcoal, for example, lets you get rich, dark tones quickly but is tricky to control for fine details. Ink, on the other hand, makes every line permanent, so it’s a good discipline exercise.
Experimenting with materials can help you find your favorite tool. Plus, it keeps the practice interesting. Remember, the goal is to learn and explore. And if you make a mess – hey, now you have a “modern art” piece!
6. Patience – The Secret Weapon
Drawing isn’t a race; it’s a marathon. Sure, you’ll want to get every detail perfect immediately. Resist that urge. The more time you spend on each aspect, the better your final product will look. There will be moments when you’ll stare at a half-done face, wondering if it’s ever going to look human. Keep going. Improvement comes with each portrait. Compare your early pieces to later ones, and you’ll see growth you didn’t realize was happening.
7. Practice Realism, But Don’t Fear Creativity
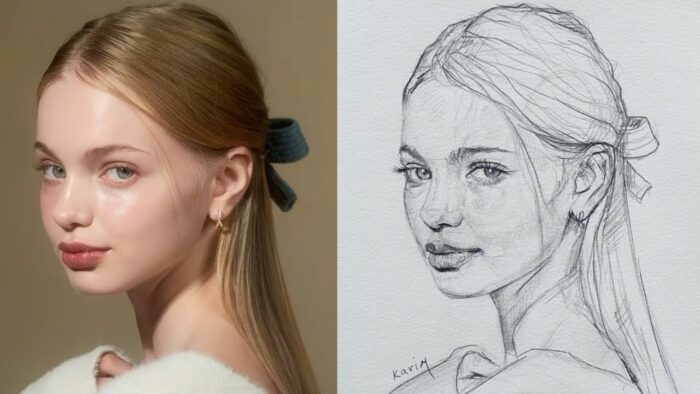
Drawing portraits realistically is the goal for many, but let yourself have fun too! Try exaggerating features or adding unique elements to the piece. Realistic portraits are great, but artistic ones that break the rules can be just as captivating. Plus, loosening up creatively will help you avoid perfectionism, which can kill the fun in art.
8. Hair – Beyond Simple Lines
Hair can be intimidating, but don’t treat it as a solid mass. Each strand contributes to the overall look, but you don’t have to draw every single hair! Instead, focus on clusters and how they flow. Hair has volume, so think of it in terms of layers and sections, with light hitting some areas and shadows falling on others.
A few quick tips:
- Use lighter, softer strokes for highlights and thicker, darker ones for shadows.
- Break hair into sections, following the direction and texture.
- Remember, hair doesn’t stick flat to the head – there’s always a bit of bounce and shape to it.
Mastering hair is all about practicing different styles and textures. Whether it’s straight, curly, or wavy, each type brings unique challenges.
Frequently Asked Questions
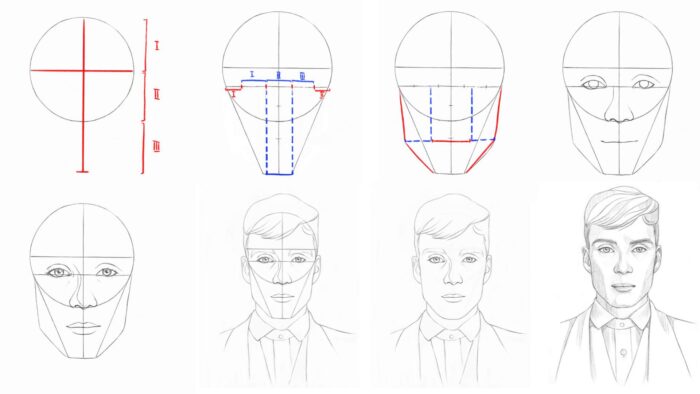
Q: What should I practice first when learning portraits?
A: Start with facial proportions and the placement of features. Getting that right will help with everything else.
Q: How do I avoid making eyes look flat?
A: Add subtle shading and highlights in the eyes. Remember, light reflects off the eye’s surface.
Q: How long does it take to get good at portraits?
A: It varies! With consistent practice, you’ll see progress in a few months. Mastery takes longer.
Q: Are certain pencils better for portraits?
A: For most beginners, a variety of pencils (from soft to hard, like 2B to 6B) will give you the range needed for shading.
Q: Is using a reference photo important?
A: Yes! Reference photos help you capture details accurately.


