By installing the newest version of Virtual Machine, you will ensure that the improvement of virtual machine management and overall performances of your virtual machine’s OS. When you start your VM, you will get a notification if there is any newer version available. By clicking on the notification, you will be led to the link you can use for installing the latest version of the virtual machine. From Windows 2000 to the newer operating systems, VMware Tools is installing a VM upgrade helper tool you can always count on when it comes to updating your VM. It restores the whole network configuration when the current version of virtual hardware is updated to the latest one.
What Do You Need to Do Before Installing?

The first thing that you need to do before start installing VMware tools, you should run your virtual machine. Then, you should make sure that guest OS works. If you originally connected VM through virtual CD/DVD drive to the ISO format during the installment of your OS then you should change the setting to autodetection by a physical drive. This autodetection will enable you VM’s first CD/DVD drive to spot and link to the VMware Tools file in order to start the installation.
This VM file, most likely ISO, will look like a CD to your guest OS. Then you should use settings in your VM to edit set the drive that can detect a physical drive. If your guest OS is lesser in terms of the version that your main OS, you should definitely log in as an administrator. The result will be that any other user can install VMware Tools in all of the guest OSs. It is important to point out that guest OS can run without having VMware Tools installed. However, by installing VMware Tools, you will have an improvement in terms of convenience and functionality.
The Procedure

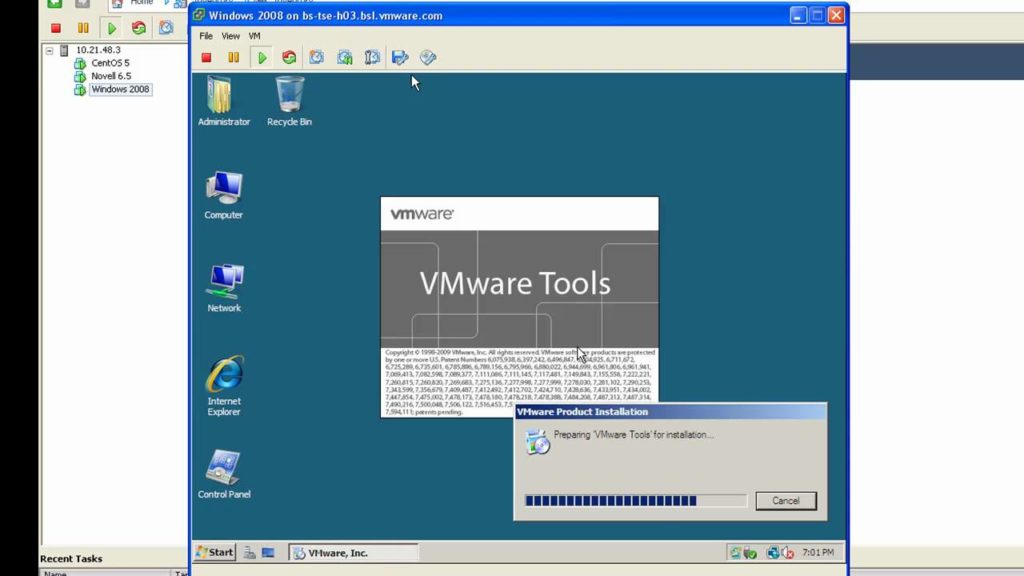
After you completed all the perquisites, you can start the procedure of installing VMware Tools.
- Select an option to be a host on Workstation menu bar
- Find VM and click on install VMware Tools (If you have older versions, you will have the option of updating your VM).
- If your installment of VM is going to be handled through the CD-room drive, the wizard installation will appear.
- If the autorun is not enabled, you should start the wizard manually by clicking on a Start, and then clicking on the Run icon.
- You should enter where is the location of your CD-Room, and setup.exe
- After then, you will be able to see some on-screen instructions. Follow them in order to complete the installation fully.
- If the new hardware wizard appears on your screen, you should only go follow the instructions and click on defaults.
- If the wizard notifies you that you already have some versions of VMware Tools on your machine, you should click on install anyway and complete the process.
- After the installation, you should restart your virtual machine.
Tricks and Tips

Now, we are going to present you with some tips that you can use to increase the functionality and performance of your virtual machine even after you installed VMware Tools.
- You should definitely do a proper mapping of VMware Tools versions
- Finding its latest versions
- VMware tools are located within VMware EXI, and you should navigate them to the ISO file
- The latest version of Tools number 10.3.10 is compatible with ESXi versions from 6.0 to 6.7.
- In order to get a better glimpse of what components are installed on your OS, you should open Regedit and navigate to the location.
Component Values You Can Use
Naturally, VM tools have some component values that you can use, and we are going to list them down below, so you would have a better insight into them.
- Drivers
- Audio – Driver for 64bit OSs
- Bootcamp – Mac Bootcamp Support
- MemCtl – Memory management driver
- Mouse – VMware driver
- PVSCSI – Paravirtual SCSI adapter
- SVGA – SVGA driver
- Sync – Enables the backup of the apps
- ThinPrint – Printer driver
- VMCI – Interface driver for VM communication
- HGFS – Drivers for sharing folders
- VMXNet –VMXnet networking driver
- Fileintrospection –NSX file driver


